CAKE BALLS!!!

*1 box of cake mix and all of the ingredients needed to bake the cake. You can choose any flavor of cake. I've used yellow cake, chocolate cake, lemon cake and even strawberry cake.
*1 tub of white frosting (you can use chocolate, but only for dark cakes)
*1 bag of candy melts in your color of choice

*Toppings of choice (sprinkles, chopped nuts, butterscotch chips, chocolate chips, crushed peppermint, etc)
Directions:
1. Bake your cake in a 9x13 pyrex according to instructions and let cool.


4. Line a large cookie tray with wax or parchment paper and as you shape the cake balls, place them on the wax paper. Once your tray is filled, place in refrigerator to chill. The chill will help them hold their shape. Chill for about an hour.
5. After about an hour, create a double boiler on your stove and melt your candy coating.

6. This is where you can get creative in terms of color! With my lemonade cake (which I think of as a Spring or Summer flavor) I used a beautiful green coating with yellow sprinkles. If you were making these treats for Halloween, you could use orange candy coat and top your cake balls with crushed Oreos or mini chocolate chips. The combinations of flavors and colors are endless!
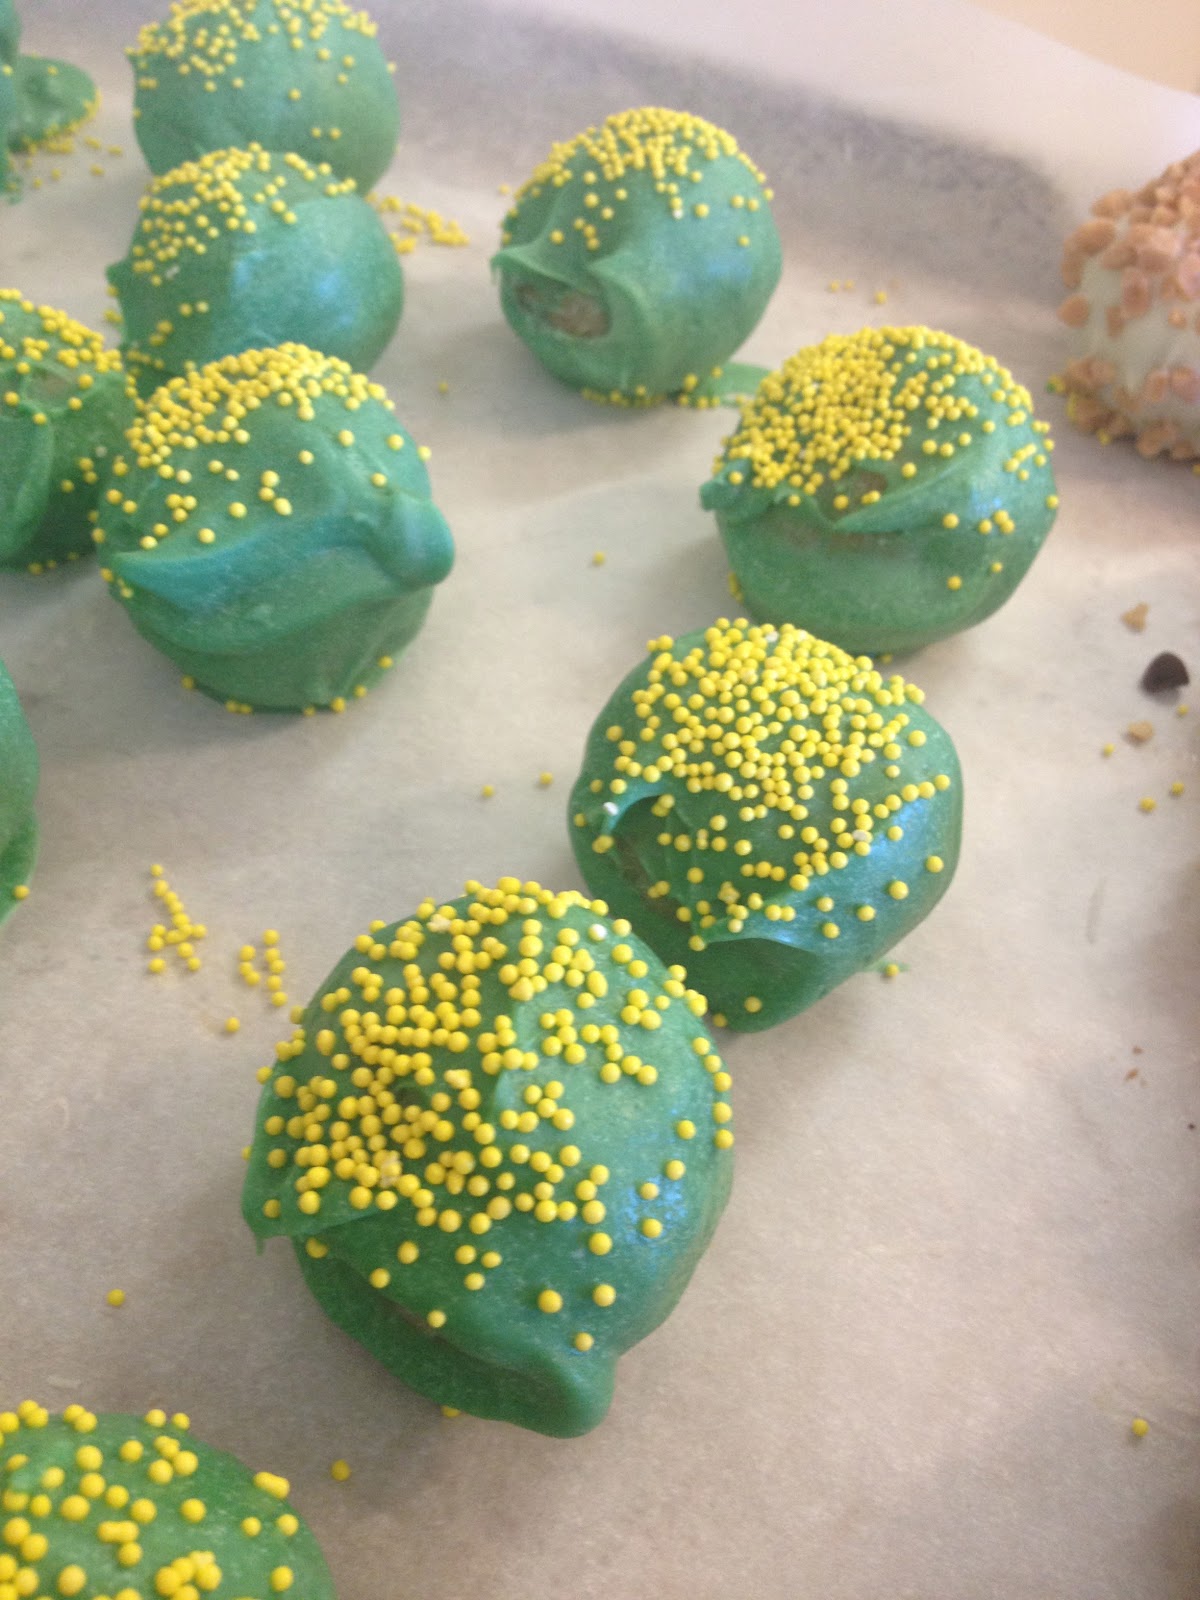
6. When candy is thoroughly melted, place a chilled cake ball on a spoon, dip it into the candy melt, thoroughly coat, and place back on wax paper. Apply toppings immediately before candy hardens. Repeat until all cake balls have been coated and topped. VOILA! A gorgeous and delicious dessert!!


Credit to Julia Wilson for teaching me to make these gems! xo
Fantastic!!! Sooo yummy!
ReplyDelete